How to install a 50a wiring kit
How to install a 50a wiring kit
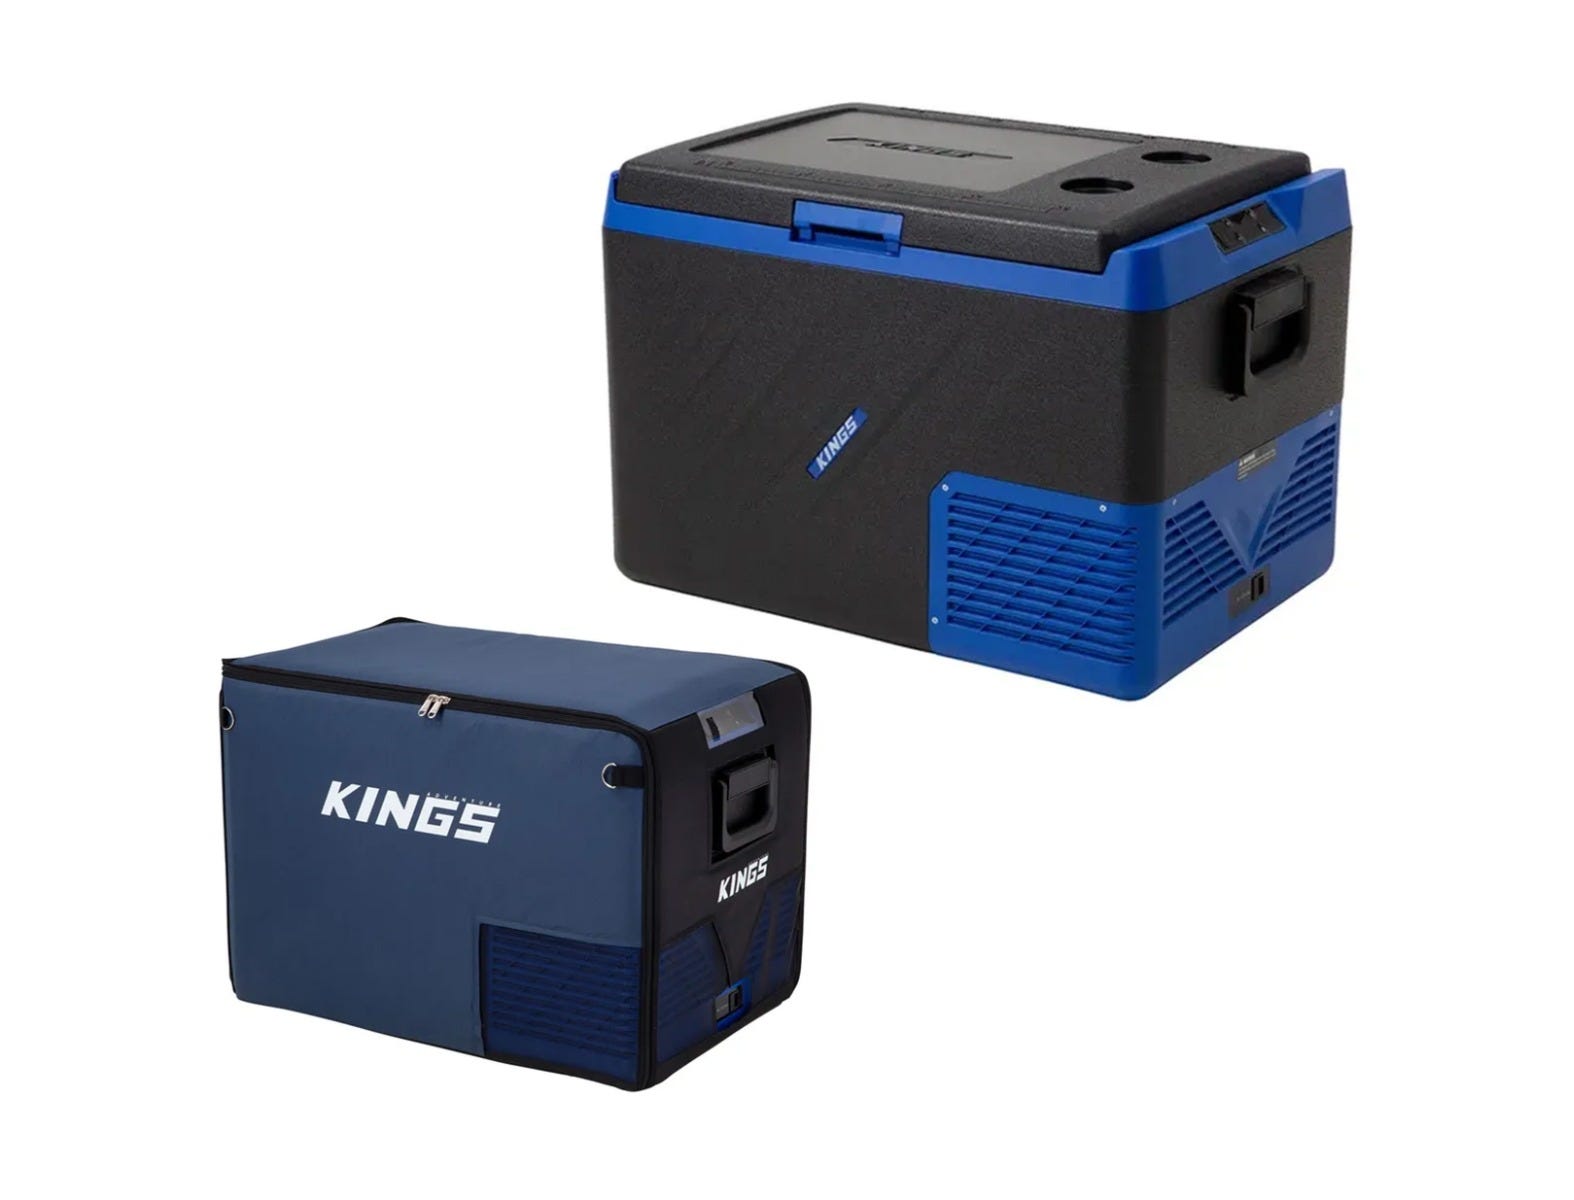
The Adventure Kings 50A Wiring Kit is an all-in-one DIY wiring solution for high power 12 volt projects. With 6 metres of 8AWG twin core pre-fitted with 8mm eye terminals and an inline fuse holder ready to connect to your battery, all you have to do is cut it to length and fit your choice of the included anderson-style plug or 8mm eye terminals. The kit also comes with two 50A maxi blade fuses for circuit protection.
|
PARTS REQUIRED |
Adventure Kings 50A Wiring Kit |
|
TOOLS REQUIRED |
Wire stripper, screwdriver |
|
MATERIALS REQUIRED |
Corrugated tubing, screws, cable ties |
PROJECT OVERVIEW
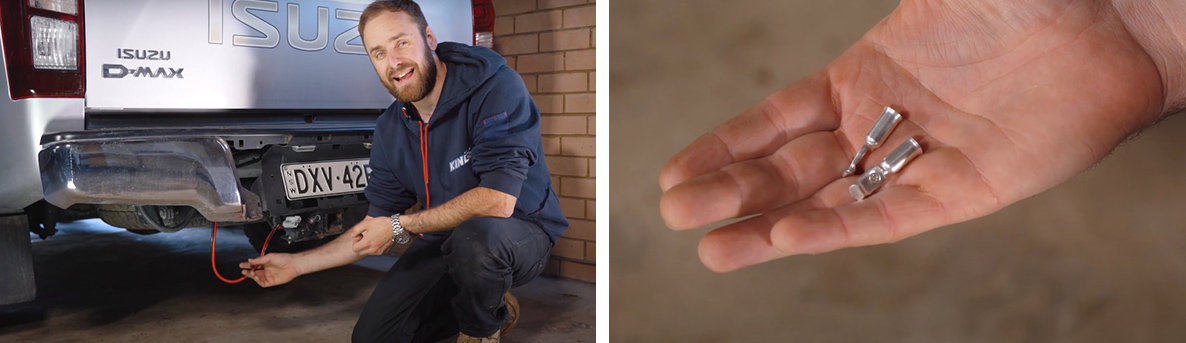
STEP 1

Remove the fuse and connect the ring terminals to the positive & negative terminals on the starter battery.
STEP 2

Then, run the wiring under your vehicle or through the cab. Depending on whether you have a ute or a wagon, and whether you are setting up power to the front or the back of the vehicle.
STEP 3

If you are planning on going off road - add corrugated tubing around the wiring to help protect it.
STEP 4

Cable-tie the wiring to secure it up away from any hot or moving parts.
STEP 5

Once the wiring is in your desired location, you can then plug the terminals into the quick-connect plug. Making sure positive goes to positive, and negative to negative.
STEP 6

Use the included holes on the plug or cable ties to mount it into position.
STEP 7
If you have left-over wiring, you can always trim to the appropriate length and connect the additional terminals included in the kit.
Related Products