How to Install a Universal Ute Tub Rack
How to Install a Universal Ute Tub Rack
The Adventure Kings Universal Ute Tub Rack is an incredible ute storage upgrade with all the features and quality campers, 4WDers, tradies and outdoor adventurers need, at a price that leaves the competition in its dust. This is the ideal solution to adding extra storage capabilities to your ute, without having to fork out thousands of dollars for a canopy.
|
PARTS REQUIRED |
Adventure Kings Universal Tub Rack |
|
TOOLS REQUIRED |
13mm spanner, 5mm allen-key or bit, drill, centre punch, set of drill bits, deburring tool, marker, tape measure |
|
MATERIALS REQUIRED |
Touch-up paint, masking tape, adhesive foam or rubber |
PROJECT OVERVIEW
STEP 1

Slot the upper leg piece over the lower leg piece, and secure into place with a nut & bolt on the lower and upper holes on each side of the legs. Repeat for the other three legs, and make sure bolts are tight.
STEP 2

Next, measure the width of your tub. Lay out the cross-pieces on the ground and place the legs on the inside of either end. Match the width of the outside edges of each leg to the width of your tub, keeping each side even. Hold this into place with four bolts finger tight, in case you need to make adjustments later. Repeat this step for the back cross-piece.
STEP 3

Once both the front and back cross-pieces have been bolted together and placed next to each other, mount a side rail in between on each side, only doing up the bolts finger tight. Once unit is complete, tighten ONLY the bolts that attach the side rails to the crosspieces, to keep it rigid for the next step.
STEP 4

Next, place the tub rack on the tub and line up exactly where you want it. If you have a built-in torno cover, you will need to modify the side rails on the tub by marking out the bracket lines, take the tub rack off the ute, cut the slots for the feet to sit in, put masking tape over the slots and then put the tub rack back onto the tub. If you already have a flat surface on the top of your tub, please skip this step.
STEP 5
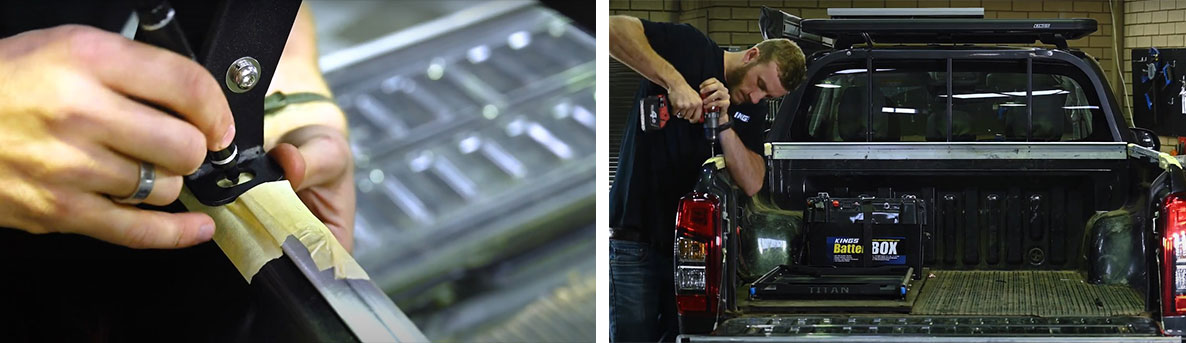
Mark the centre of each hole with a marker for each mounting point on the tub, then mark with a centre punch. Drill smaller diameter pilot holes and then with a larger 10mm drill-bit. With this step, take your time and work your way up to 10mm if you like. Check the bolts fit through the holes nicely.
STEP 6

Smooth all of your drill holes with a deburring tool and touch-up the edges where you have drilled with touch-up paint, cold-gal or even nail polish. Be generous with the paint to prevent rust. For an extra layer of protection, use adhesive foam or rubber and lay over the areas where the legs will sit on the tub.
STEP 7

Place the tub rack back onto the tub and secure the legs with the included bolts. Using a drill or impact gun will make this step a lot quicker.
STEP 8

Position the roof bars in any spot you want, and once you’re happy with the position of them, tighten the bolts.
STEP 9

Tighten the outside bolts of the front and back cross-pieces, leaving the inner bolts until after adding the roof bars.
STEP 10

Finally, go around to all the nuts & bolts and check they are all tight and secure. Your tub rack is now complete and ready for use!
Related Products